Hardwood Floor Repair, Recoat & Refinish
As the trend toward restoring older homes continues, more and more people are refinishing their hardwood floors. Hardwood floors provide years of maintenance-free beauty, yet they are relatively cheap and easy to restore. What’s more, refinishing floors on your own can save thousands of dollars while raising a property’s value. |
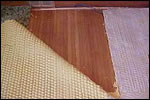
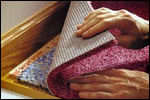
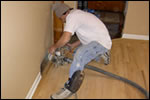
STEP 1: Remove Carpet (if applicable)
We scrape bonded pads such as carpet by hand with a putty knife. We take care to follow the grain of the wood and to not gouge as we scrape. We use a chemical solvent can to speed the process and we remove the left-over carpet staples with a needle-nose pliers. |
   |
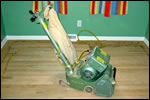
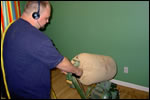
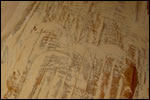
STEP 2: Sand
Our dustless sanding process ensures that a minimal amount of dust is created as we prepare your floors for staining. We start sanding with the coarsest grit of sandpaper and perform three passes, using a finer grit each time. We are careful to move with the grain of the wood as much as possible and keep the sander moving at a steady pace to avoid uneven patches. Since corners are often sanded too much as the machine passes over them repeatedly and there will always be awkward patches where the sander can not reach, the only choice is to do these patches by hand, using the same progression of coarse to fine sandpaper described above. Once the floors have been sanded three times, they are ready to be prepared for staining. |
    |
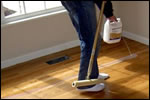
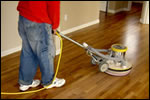
STEP 3: Stain
After selecting a stain matching your taste, we apply the stain in a circular motion and we apply evenly to avoid any color inconsistencies. If after the first application the stain is too light, we repeat until the desired color is attained. Buffing is the next step. We use a tack cloth to clear away dust and debris, and the floors will be ready for their first coat of polyurethane. We apply the polyurethane using a mop-like tool. This prevents us from having to stoop over for hours and seems to work as well as other applicators. Once the recommended drying time has elapsed we repeat the above process twice more, making three coats of polyurethane in all. |
  |
| Now your hardwood floors are ready to go. You should wait two or three days before using the room and at least a week before putting down any area rugs or they might adhere to the floor. |
.gif) |
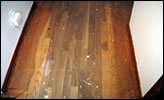
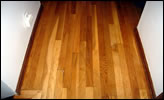
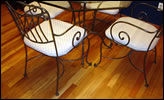
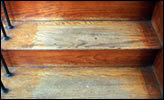
| Premier Hardwood Floors Before & After Refinishing Projects |
 |
|
 |
|
 |
|
 |
| Hallway Before |
|
Hallway After |
|
Dining Room Before |
|
Dining Room After |
|
 |
|
 |
|
 |
|
 |
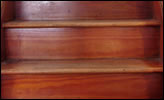
| Steps Before |
|
Steps After |
|
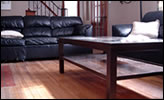
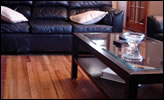
Living Room Before |
|
Living Room After |
|
